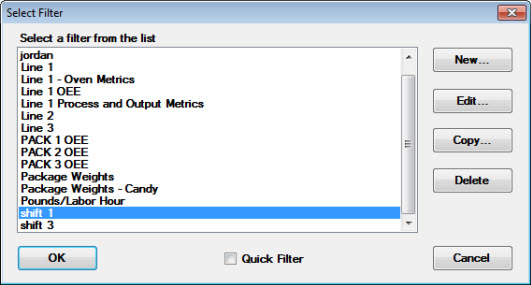
Use the Select Filter dialog to analyze data for data points that only meet certain traceability criteria you set. This can also be used to sort data in order by a value other than the date/time stamp. Filters are stored in GainSeeker and can be used again to analyze data without having to create a new filter each time.
|
To: |
Perform this action on the Select Filter dialog box: |
|
Turn on a filter |
Select the filter name in the list, and then click OK. |
|
Turn off a filter |
Select the All Data filter in the list, and then click OK. |
|
Create a new filter |
1. Click New. 2. On the Traceability Filter dialog box, enter a unique name for this filter, up to 40 characters long. Use a name that describes what the new filter will do. This can be especially useful if you need to include the filter name on the report. 3. See Setting the contents of a filter for help setting up the contents of the filter. |
|
Create a new filter based on the contents of an existing filter |
1. Click the name of the existing filter in the list. 2. Click Copy. 3. On the Traceability Filter dialog box, enter a unique name for this filter, up to 40 characters long. Use a name that describes what the new filter will do. This can be especially useful if you need to include the filter name on the report. 4. See Setting the contents of a filter for help setting up the contents of the filter. |
|
View or change the contents of a filter |
1. Click the name of the filter in the list. 2. Click Edit. 3. See Setting the contents of a filter for help setting up the contents of the filter. |
|
Delete a filter |
1. Click the name of the existing filter in the list. 2. Click Delete. 3. At the prompt to delete, click Yes. |