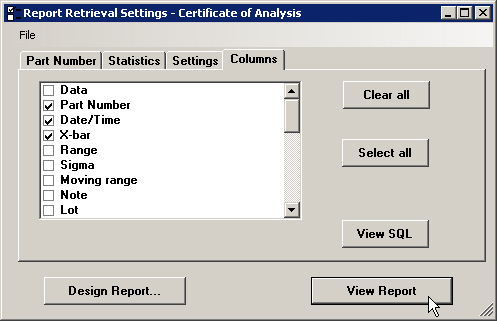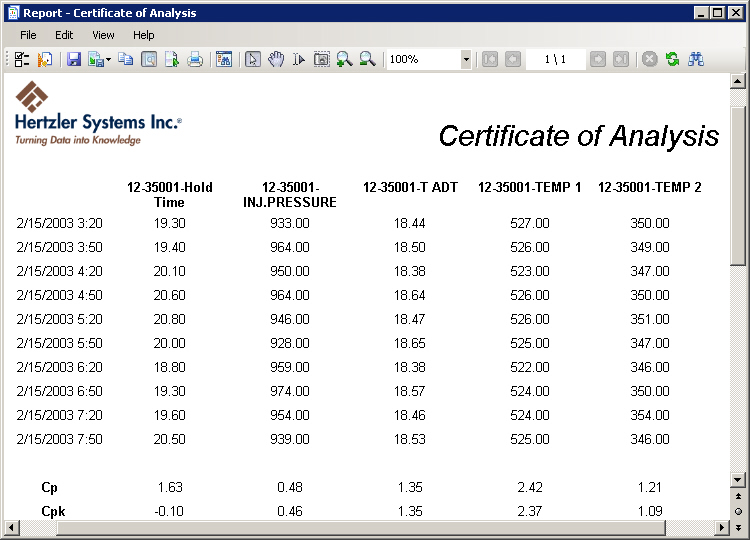
There are several ways to view a Dynamic Report:
From the SPC Reports, DMS Reports Advanced Reports or Mixed Reports tab on the Dynamic Reports screen, you may:
highlight the report you want to view and then click View Report
right-click the report you want to view and then click View Report
highlight the report you want to view, click the File menu, and then click View Report
double-click the report you want to view
On the Report Retrieval Settings screen for an SPC report, DMS report or Advanced report, you may:
click View Report

click the File menu and then click View Report
From the Report Designer screen, you may:
click the ![]() button
button
click the File menu and then click View Report
It is also possible to create a shortcut that will launch the Dynamic Reports module and automatically open the report you specify. For more information, see Setting up shortcuts for automatic functions or the .Launch module.
All of these methods will launch the Report viewer window:

When a report is open in the viewer window, you can browse the report and send it to a file, an application, or the printer. You can also return to the Retrieval Settings or the Report Design to make changes to the report.
To modify the page setup for the report, click the ![]() button. Alternately, you may click the
File menu and then click
Page Setup. For more information,
see Page
Setup.
button. Alternately, you may click the
File menu and then click
Page Setup. For more information,
see Page
Setup.
To refresh the data on the report, click the ![]() button. Alternately, you may click the View
menu and then click Refresh.
(Please note that pressing the F5 key will not refresh the data
on the report.)
button. Alternately, you may click the View
menu and then click Refresh.
(Please note that pressing the F5 key will not refresh the data
on the report.)
To print the report, click the ![]() button.
Alternately, you may click the File
menu and then click Print.
For more information, see Printing.
button.
Alternately, you may click the File
menu and then click Print.
For more information, see Printing.
To send the report to another file type:
Click the ![]() button and then choose
the type of file you want to create –
Image, HTML, PDF, XML, Word or Excel.
button and then choose
the type of file you want to create –
Image, HTML, PDF, XML, Word or Excel.
On the Save As screen, choose the location and enter a name for the new file you want to create. If creating an image file, you should also choose the type of image file to create.
On the Save As screen, click Save.
Alternately, you can use the following method to send the report to another file type:
Click the File menu, point to Send to, and then click File.
On the Save As screen, choose the location, file name and file type for the new file you want to create. Then click Save.
If you click the File menu, point to Send to, and then click any other option (e.g., PDF, HTML, etc.), the program will use a default file name to create the file in your Windows TEMP folder and then open this new file using the Windows default program for this type of file.
For more information, see Exporting Reports.
For more details about using the Report viewer window, see Viewer Guide.