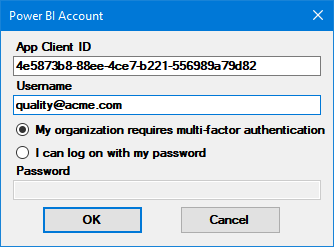
Azure AD setup for Power BI

Before you can send charts to Power BI, your IT staff must set up a GainSeeker application in Azure Active Directory by following these steps.


Contents  [Hide]


A. Register a new app

(Adapted from the Microsoft documentation to Register an Azure AD app manually and Register an application.)

  1. Sign in to the Azure portal (https://portal.azure.com/).

  2. If you have access to multiple tenants, click the Directories + subscriptions button in the top menu to switch to the tenant where you want to register the application.

  3. In the Azure services area, click the App registrations button.

    If you can't see this option, click the All services button and search for it there.

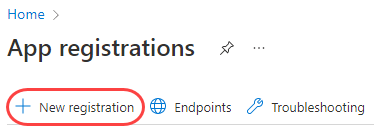
  4. On the App registrations page, click New registration.
  5. On the Register an application page, enter a Name for this application and select which Supported account types should be able to use it or access its API. (For now, leave the Redirect URI blank.)

    Then click Register.

    This should open the Overview panel for the new application you just registered.

  6. In the Essentials list, copy the Application (client) ID and paste it into another document for future use. (You will need to share this with GainSeeker Power BI users.)

B. Configure Redirect URIs for the new app

  1. In the Essentials list for this newly registered app, click the Add a Redirect URI link for the Redirect URIs setting.

    (For an app with one or more URIs already configured, this link may look different, but you can still click it to add or edit URIs.)


    This should open the Authentication panel for your new app.

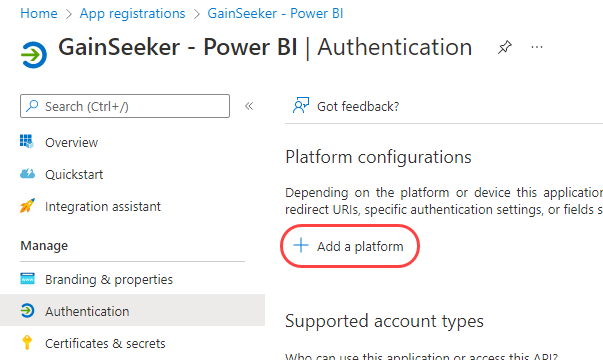
  2. On the Authentication panel, click Add a platform.


    This should open the Configure Platforms window.

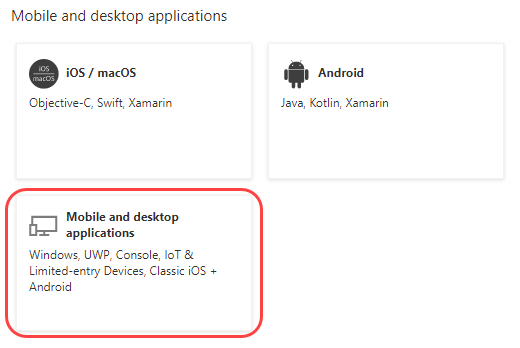
  3. On the Configure Platforms window, click the Mobile and desktop applications button.


    This should open the Configure Desktop + Devices window.

  4. On the Configure Desktop + Devices window:

    1. Select the first checkbox.

    2. Using the Application (client) ID you copied a few steps ago, enter  ms-appx-web://microsoft.aad.brokerplugin/application_client_ID  in the Custom redirect URIs box.

    3. Click Configure to save your changes.

C. Add API Permissions to the new app

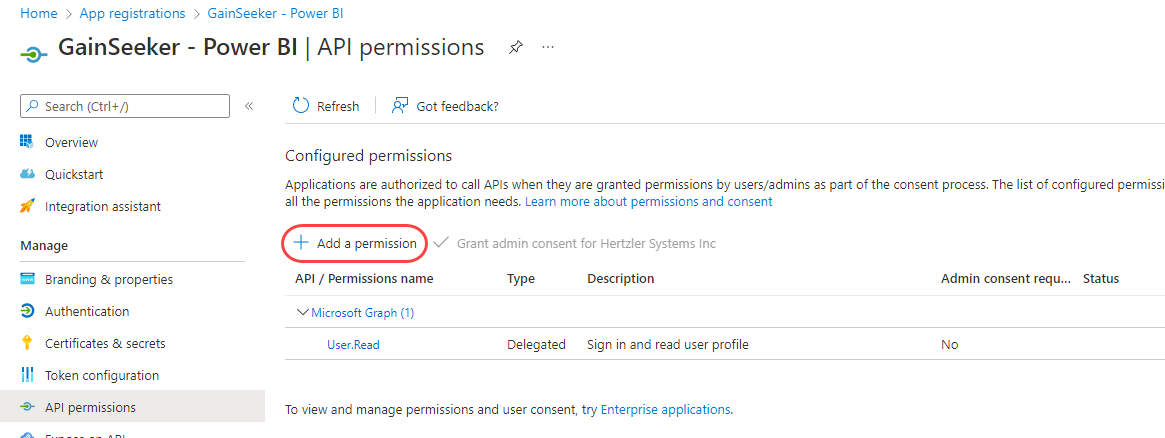
  1. On the navigation menu, click API Permissions.

  2. On the API Permissions panel, click Add a permission.

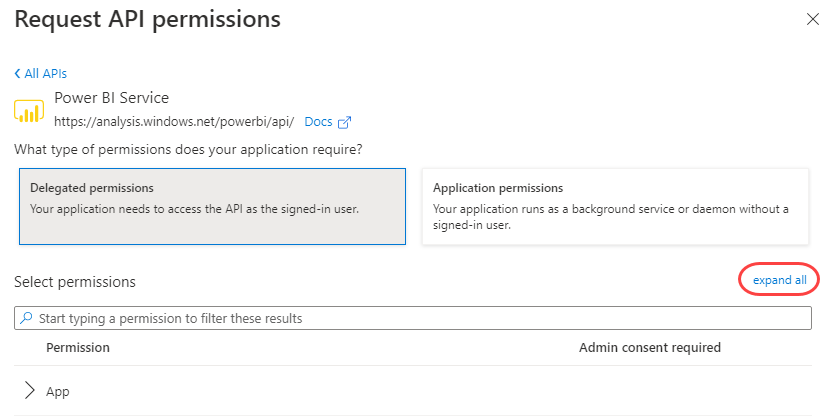
  3. Click Power BI Service and then click Delegated permissions.

  4. Click expand all.

  5. Select the following permissions (all permissions in all categories except Pipeline, Tenant, and UserState), and then click Add permissions:

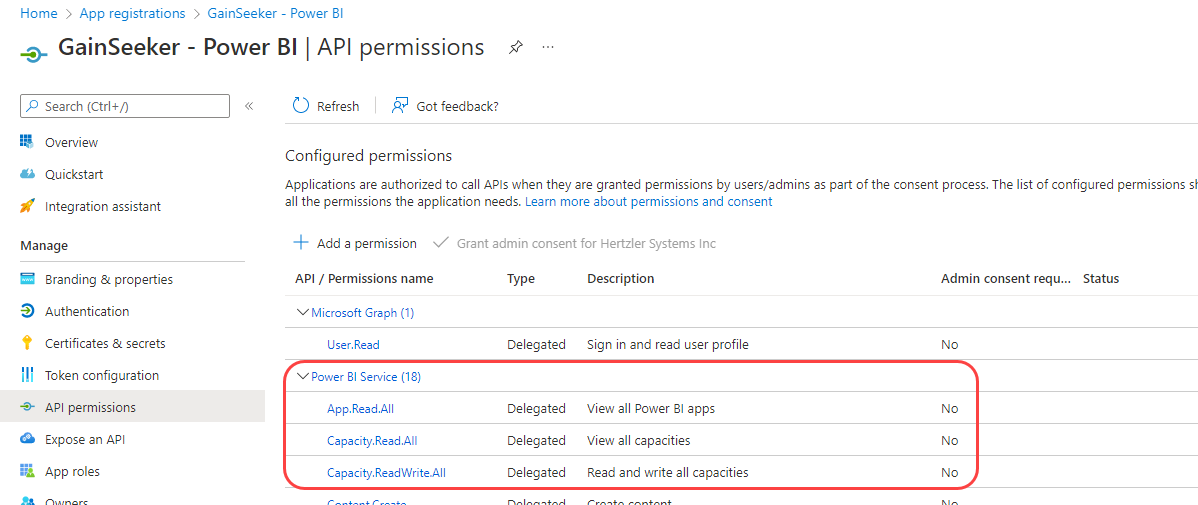
  6. On the API permissions panel, verify that the 18 Power BI Service permissions are present, are Delegated, and do not require Admin consent.

D. Assign users to the new app

  1. Click the Home link to return to the Azure portal.

  2. In the Azure services area, click the Enterprise Applications button.

    If you can't see this option, click the All services button and search for it there.

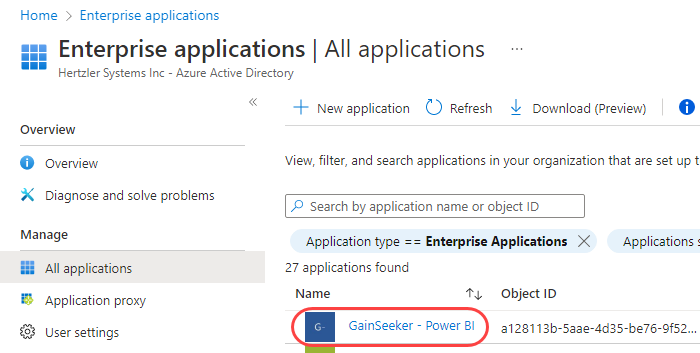
  3. On the All Applications panel, click the name of your new application.


    This should open the Enterprise Overview panel for your new application.

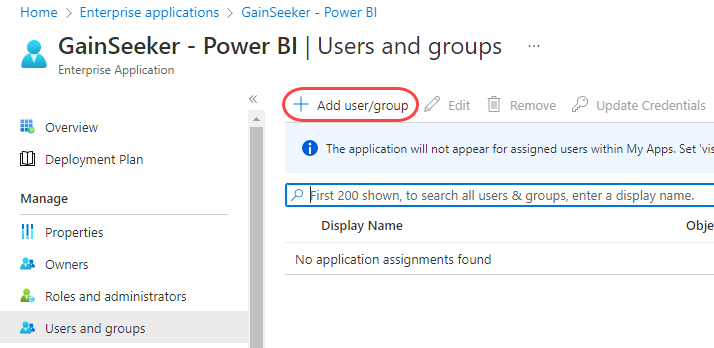
  4. On the navigation menu, click Users and groups.

  5. On the Users and groups panel, click Add user/group.

  6. Assign Users to your new application:

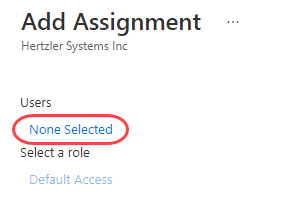
    1. On the Add Assignment page, click the None Selected link.

    2. On the Users window, select all GainSeeker users who will send data to Power BI. You can use the Search box to help you quickly find a user by name or email address.

      Please note that the users you select must also have a Power BI login for the same email address.

      When finished adding users, click Select.

    3. On the Add Assignment page, click Assign.

E. Communicate these details to GainSeeker Power BI users