
When a sub-inspection is configured for the capture of images and/or videos, the inspector can use the Capture button to take pictures and attach image files, attach video files, or both. Up to five media files can be attached to a sub-inspection.
When the sub-inspection is submitted, these media files can be stored with the sub-inspection data, emailed to recipients, or both.
Click the Capture button at the bottom of the current sub-inspection.

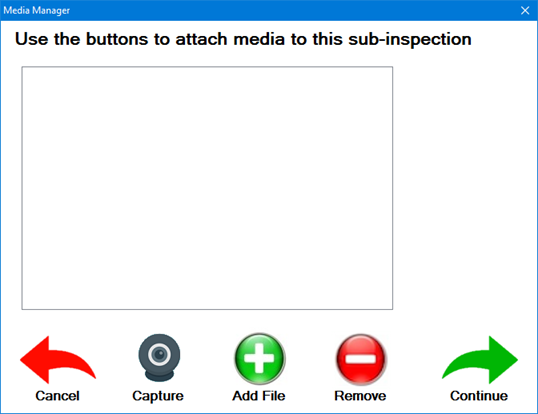
This will display the Media Manager window:

If images are enabled for this sub-inspection:
To take a picture using an integrated or external camera or webcam, click the Capture button. (The captured picture will be automatically saved as an image file.)
To attach an image file, click the Add File button.
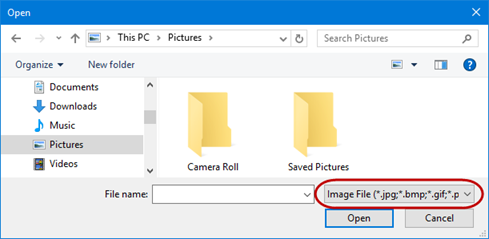
On the Open window, choose Image File as shown below. Then browse to the folder containing your desired image file and select it.

If videos are enabled for this sub-inspection:
To attach a video file, click the Add File button.
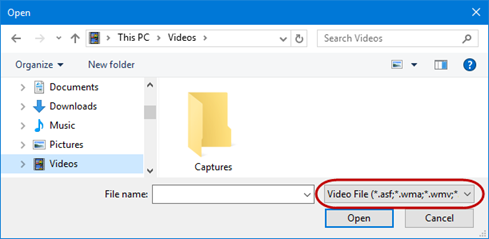
On the Open window, choose Video File as shown below. Then browse to the folder containing your desired video file and select it.

The availability and behavior of the Capture button depends on the following sub-inspection properties:
For information on displaying images to the inspector on the right-hand panel of the Inspection Viewer, see Images test.