 Display Form
You can add controls such as text fields and web browsers to this form.
 Note: The Display Form action is a Beta version that may be subject to change or discontinued in future GainSeeker versions.
|
Contents [Hide] |
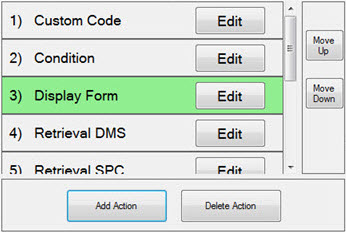
Click an action in the list of actions to select it. Then, click Edit.
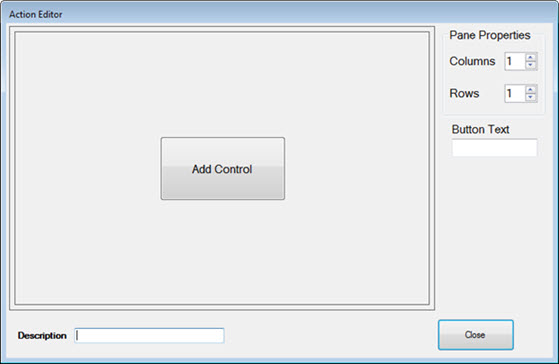
The Action Editor displays.
The form in the example below has two columns and one row. A control can be added to each pane in the form.
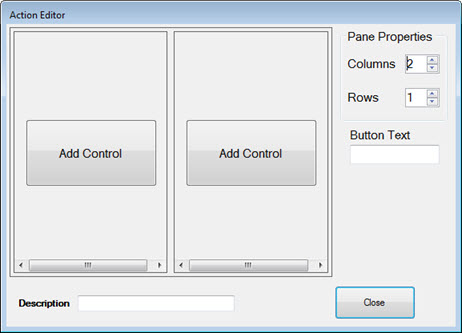
Note: Unused exterior row and column panes are deleted when the form is closed. You can opt to add additional row and column panes if you re-edit the form. You can delete unused interior rows and columns by adjusting the number of Columns and Rows in the Pane Properties field.
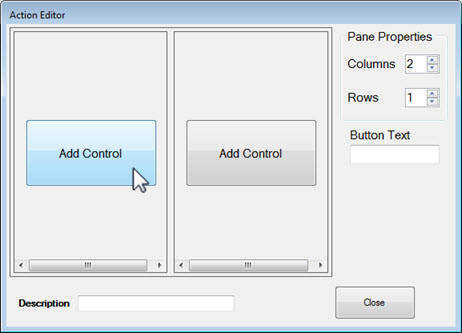
The Control Selector displays.
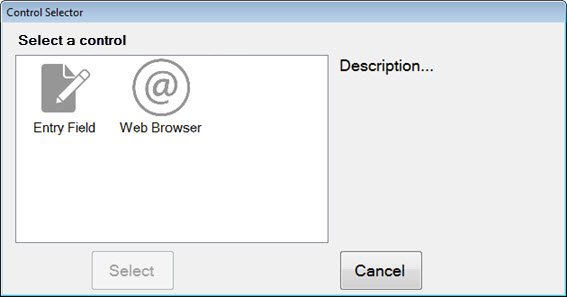
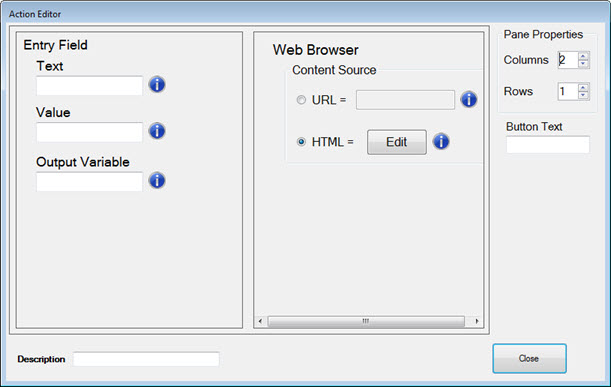
In the Entry Field pane:
Label: Enter a label for the entry field.
Value: Set the initial value for the entry field.
Output Variable. Set the name of the output variable assigned to the value of this field. The value is always a string.
In the Web Browser pane:
Click the options button to display a URL or HTML.
To use a URL, select the URL options button.
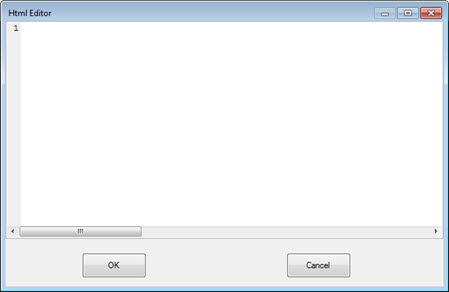
To use Html, select the HTML options button. Click Edit to open the Html Editor. Use the editor to write custom html to display the browser in that pane.
If the field is blank, no button displays. When text is entered for Button Text, a button displays on the pane with that label.
This could be a label for this action that helps you distinguish between actions when more than one Display Form is used in a Python Script dashboard control, for example. The label only displays when the dashboard is in design/edit mode.