You can use the Priority List Editor to add or remove priority list items for a user or configuration.
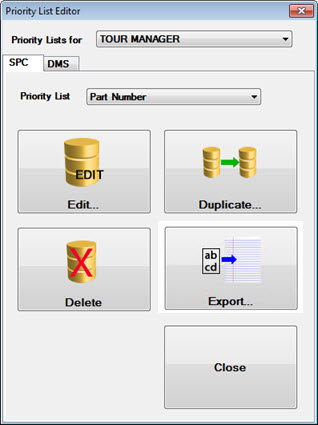
Click the Priority List Editor button on the GainSeeker Utility module to open the Priority List Editor:
Select the user or group name for the priority list from the Priority List for drop-down menu.
Select an SPC or a DMS list for the user or group name you selected. The SPC tab displays by default or you can click the DMS tab on the Priority List Editor.
Select the priority list from the Priority List drop-down menu.
Click the Edit... button on the Priority list Editor.
The SPC/DMS Priority List Editor opens. The top half of the dialog displays all available items of the type you selected (desktops or SPC or DMS part numbers, for example). Items of that same type in the priority list you selected display in the bottom half of the dialog.
Note: You can choose whether GainSeeker displays the Number... , String 1, and String 2 columns in the Selected list for a traceability. These options and the Edit... button only display when the columns display. The Collapse  button also displays. To hide these columns, click Collapse. The button toggles to display Expand. If you choose not display the three columns, GainSeeker remembers your preference and does not display them the next time this dialog is opened.
Click the traceability you want to edit in the Selected area of the SPC/DMS Priority List Editor (Fig. 1).
Then, click the Edit... button.
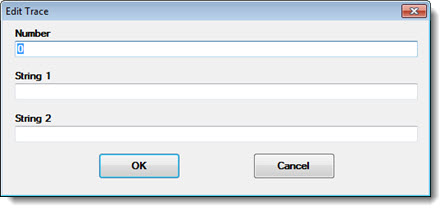
The Edit Trace dialog displays (Fig. 2).
Make changes to the traceability using the Number, String 1, or String 2 fields on the dialog as needed.
Fig. 1
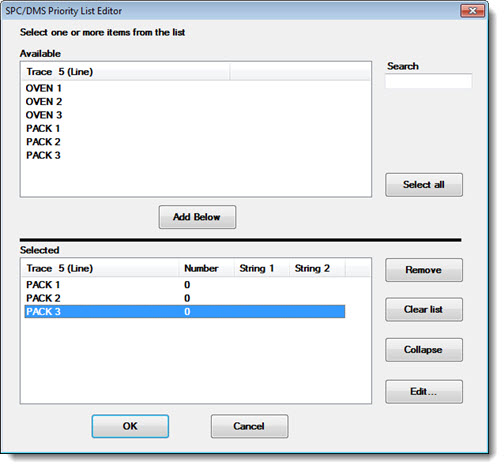
Fig. 2
Viewing printable priority lists