 There
are a few simple tasks to perform and requirements to meet before you
begin to create your first inspection:
There
are a few simple tasks to perform and requirements to meet before you
begin to create your first inspection:This topic details instructions for creating inspections that can be performed on mobile devices and PCs. For a less-detailed overview of the inspection creation process, see Overview: Creating Inspections
The process for creating an inspection for a PC Collect inspection or a legacy GS Collect mobile device inspection are the same. The properties for the inspection elements and a few of the display options may differ.
|
Contents [Hide] |
There
are a few simple tasks to perform and requirements to meet before you
begin to create your first inspection:
When the GainSeeker Inspections window opens, the Manage Inspections dialog displays (Fig. 1).
If you close the Manage Inspections dialog and want to later reopen it, click the Manage Inspections... button on the main window (Fig. 2) that displays when the dialog is closed.
Fig. 1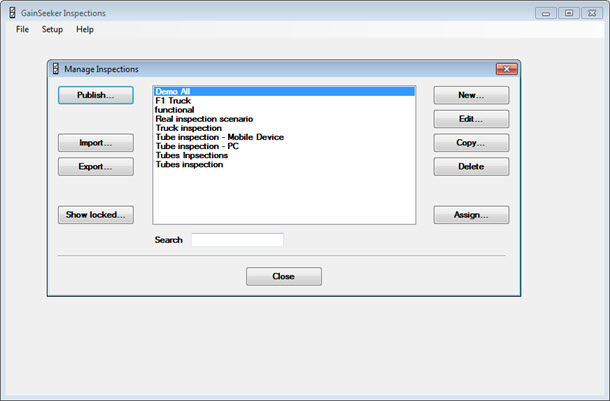
Fig. 2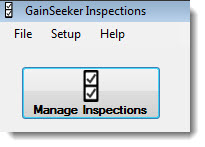
Click New... on the Manage Inspections dialog. Then, enter a name for your new inspection in the Enter Value dialog that displays (Fig. 3).
![]() Tubes inspections is entered for
the inspection name.
Tubes inspections is entered for
the inspection name.
Fig. 3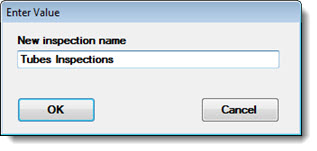
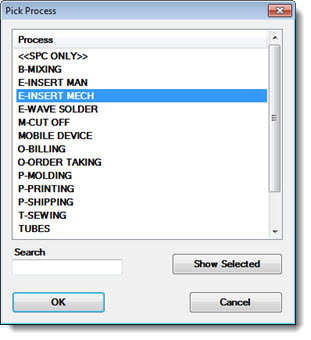
The Pick Process dialog displays.
![]() E-INSERT MECH is selected as the
process.
E-INSERT MECH is selected as the
process.
If the Select Traceability dialog opens, select the traceability field you should have pre-labeled "Sub-inspection." This field will be used to store the sub-inspection names.
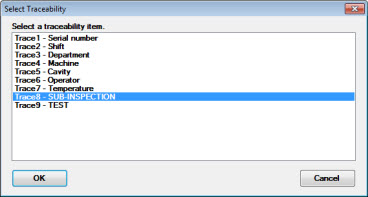
If the Select Traceability dialog opens again, select the traceability field you pre-labeled "Test." This field will be used to store the test names for the sub-inspections.
In the Edit Label dialog that opens, select the traceability field "Traceability" (this is prefilled in the text field—the recommended label for the first sub-inspection, which contains general traceability information.)
The Inspection Editor opens with the properties displayed for the new inspection in the Properties panel. You can use the editor to group your inspections into sub-inspections, add tests to sub-inspections, and set various properties to determine how your inspection will perform during a running inspection.

See Creating an Inspection: Part 2 to see how to continue to create this inspection example.
In the Manage Inspections dialog, click the name of the inspection you want to edit. Then, click the Edit... button.
Use the Inspection Editor to make changes. When you are finished making changes to the inspection, you will need to republish it for your checks to take effect. You can use the Inspection Editor right-click menu options to republish the inspection.
Note:
Any time you make changes to an inspection and you want those changes
to be included in the actual inspection the next time the inspection opens,
you must publish the inspection.
Saving the changes without publishing the inspection, will not change
the inspection process when it is running until you republish it.