Users
In GainSeeker, the user is the name that is used to log in to GainSeeker.
Each user is assigned both a role and a configuration, which makes the users central to implementing the roles and configurations you set up.
Additionally, each user can be assigned its own login password and priority lists – personalized lists of the production units, saved charts, etc. that are commonly used by this user.
Default users
When you upgrade GainSeeker from a previous version, the users from that previous version will be copied to the new version of GainSeeker.
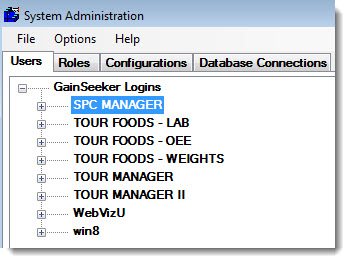
When you install GainSeeker for the first time, GainSeeker will create an SPC MANAGER user which is assigned to the Initial Configuration.
If you installed the Tour Data, you may also have TOUR users that are assigned to other Configurations.
Conventions for setting up users
You can set up users for individuals (Bill, John, Cindy, Laura) and/or for groups of people who perform similar functions (Work Cell 1, Machining Dept., QA Engineer).
In situations where there is high turnover or many people using the system, it may simplify your system setup to use a group name instead of an individual's name. For example, you may decide that all the data-entry operators in the molding department can share one user (e.g., Molding data entry).
How users work in GainSeeker
These users are the most visible part of GainSeeker's security features. Whenever someone launches one of the GainSeeker program modules, they are prompted to select their user name and enter their password. However, there are ways to automatically select the correct user or automatically log the user in to GainSeeker; for details, see Automatically selecting the login name.
To begin setting up users:
-
Launch the Administration module  from the Start menu or from the LaunchPad module.
-
When prompted, log in as a user with rights to use this module. If you have not yet set up GainSeeker users, choose SPC MANAGER.
-
On the System Administration screen, click the Users tab.

On this tab, you can perform any of the following:
-
-
Create and delete users
-
Change a user name
-
Change the settings for a user
-
Change one setting for all users
-
To quickly view the Role and Configuration settings for a user, point your mouse at the user's name. A Tooltip message will display the Role and Configuration settings for that user.
-
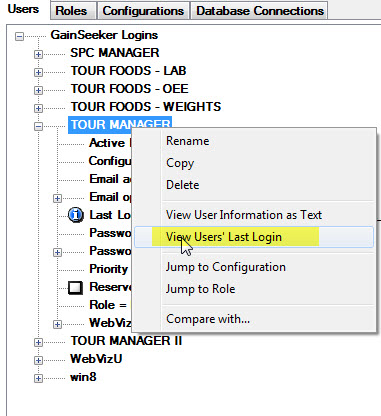
To quickly move to the Role or Configuration for a user, so that you can modify the settings for that role or configuration, right-click on the user's name and then choose Jump to Configuration or Jump to Role.
-
To quickly compare the settings for two users, right-click on one user's name and then click Compare with. When the list of users is displayed, click the name of the other user and then click OK. This will launch a text file that lists which settings differ from one user to the next.
Date and Time of most recent log in by a user
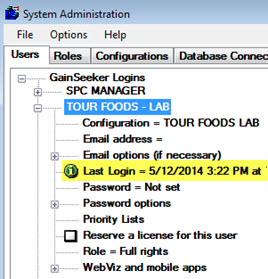
You can display the date and time of the most recent login by each user, and the name of the computer from which each user logged in. This can be helpful in determining which of your user names may be inactive.


from the Start menu or from the LaunchPad module.


